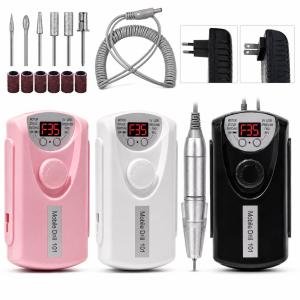
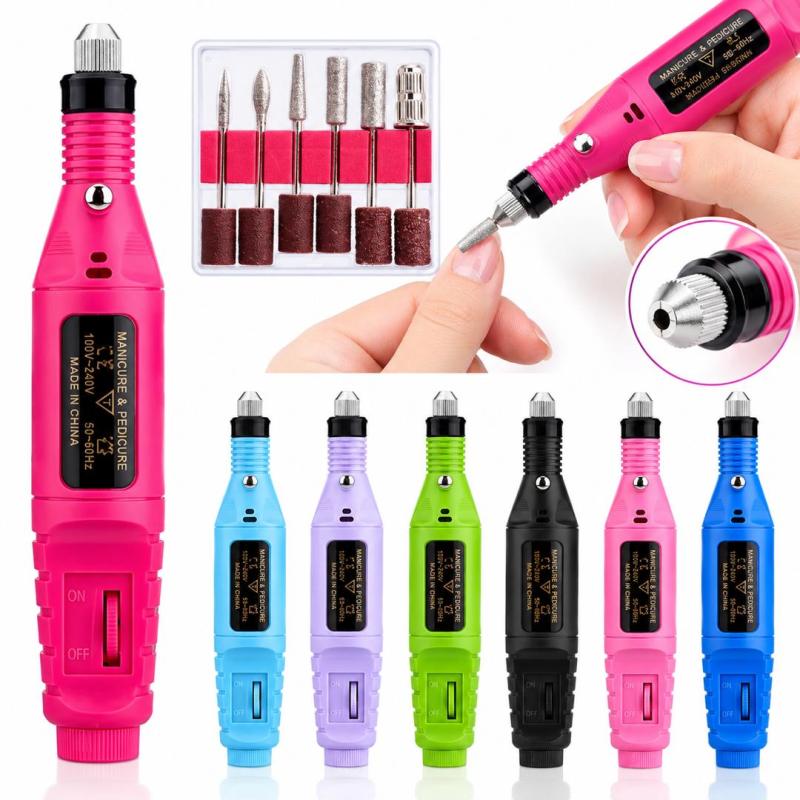
A compact electric nail drill designed for manicure, pedicure, nail shaping, surface refining, polishing, and removal of product from artificial nails. Its pen-style body provides a comfortable grip and makes it easy to work around the nail with better control.
The set shown includes the electric drill, interchangeable drill bits and sanding bands, making it useful for both nail technicians and personal nail care. Similar versions of this style are commonly designed with adjustable speed control and multiple bit options.
Precautions
* Always begin at a low speed, especially when working on natural nails or around the cuticle.
* Never hold a rotating bit in one place for too long; continuous movement helps prevent heat buildup.
* Use only light pressure. Let the rotating bit do the work.
* Do not drill deeply into the natural nail.
* Be particularly careful around the sidewalls, cuticle area and free edge.
* Do not use a damaged, bent or poorly secured bit.
* Make sure the bit is firmly locked before switching the machine on.
* Disinfect reusable bits appropriately after each client and use fresh sanding bands where applicable.
* Keep the electrical components away from water and moisture.
* Switch the machine off before changing bits.
* If you experience excessive heat, vibration or unusual noise, stop using the device and inspect it.
How to use
1. Prepare the nail
Clean and dry the client’s hands/feet and remove any loose product or debris before beginning.
2. Select the correct bit
Choose the bit according to the job. Use an appropriate sanding band or fine bit for gentle surface work and more suitable abrasive bits for artificial-product removal. Different drill bits are designed for different jobs such as surface work, edge refinement, cuticle-area work and product removal.
3. Install the bit
Loosen the chuck/bit holder, insert the selected bit securely and tighten it properly. Gently check that it is stable before turning the drill on.
4. Start slowly
Switch the drill on and begin at a low speed. Increase the speed gradually depending on the material and the task. Starting slowly gives you better control and reduces the risk of damaging the natural nail.
5. Hold it like a pen
Hold the drill comfortably between your fingers, keeping your wrist relaxed. Use your other hand to stabilise the client’s finger or toe.
6. Keep the bit moving
Work with short, controlled movements rather than staying on one area. Use gentle pressure and allow the abrasive surface to gradually remove the material. This is particularly important on natural nails because excessive pressure or prolonged contact can cause heat and thinning.
7. For gel/acrylic removal
Work from the bulk of the artificial product toward the remaining thinner layer. Reduce pressure as you approach the natural nail. Do not attempt to drill aggressively through the final layer onto the natural nail.
8. For nail shaping
Use an appropriate bit and guide it along the free edge and surface in controlled passes. Avoid pressing hard into the corners or sidewalls.
9. For pedicure work
Use an appropriate sanding band or suitable bit at a controlled speed on hardened areas. Keep the tool moving and avoid prolonged contact with one spot.
10. Finish the service
Once the desired shape or surface has been achieved, remove dust, refine the nail manually if necessary, and continue with your normal manicure/pedicure or nail-enhancement procedure.
11. After use
Turn the drill off before removing the bit. Clean and disinfect reusable bits according to their material and your salon hygiene procedure. Wipe the drill body with a suitable dry/clean cloth and store the accessories in a clean, dry place.